Here’s something most people don’t realize: the bathroom they clean weekly and the bathroom a professional cleaner calls clean are usually two different places.
Regular bathroom cleaning keeps the surface presentable. The mirror is wiped, the toilet is scrubbed, the floor is mopped. What gets missed, almost universally, is the grout beneath the surface layer of tile, the door seal on the underside of the shower, the exhaust fan cover, the area directly behind and around the toilet base, and the mineral deposit buildup around faucets that ordinary wiping doesn’t touch.
This guide shares exactly how professional bathroom cleaners approach a deep clean, what products they use on each surface, and how to address the bathroom areas most people have never properly cleaned in any home they’ve lived in.
What Is a Bathroom Deep Clean?
A bathroom deep clean is a complete cleaning of every surface in the bathroom, including the areas that regular weekly cleaning skips. The difference between a regular bathroom clean and a deep clean is scope and technique.
Regular clean: toilet, sink, mirror, shower surface wipe, floor mop.
Deep clean: everything above, plus grout lines, soap scum removal from glass, descaling of faucets and showerhead, inside cabinets, exhaust fan cover, behind the toilet, caulk inspection, and the door seals on shower enclosures.
In Minnesota homes, hard water minerals from the Twin Cities’ water supply add an extra layer of challenge. Calcium and magnesium deposits accumulate on faucets, showerheads, and glass surfaces faster here than in softer-water regions, and regular wiping doesn’t remove them.
Supplies for a Professional-Level Bathroom Deep Clean
Gather everything before you start.
- White distilled vinegar (for mineral deposits and light mold)
- Baking soda
- Hydrogen peroxide (3%)
- Commercial grout cleaner or oxygen bleach (OxiClean)
- Bathroom disinfectant spray
- Glass cleaner (streak-free)
- All-purpose cleaner
- Stiff-bristled grout brush
- Old toothbrush (for corners, hinges, and tight spaces)
- Non-scratch sponge
- Microfiber cloths (several)
- Rubber gloves
- Plastic bag and rubber band (for showerhead soaking)
- Step stool (for exhaust fan and high fixtures)
The Professional Order of Operations
Work top to bottom in the bathroom, same as any room. Start with the exhaust fan and light fixtures at the top. Finish with the floor. This prevents re-contaminating surfaces you’ve already cleaned.
Step 1: Remove Everything From the Bathroom
Take out rugs, trash cans, shampoo bottles, soap dishes, and everything else that sits on counters, shelves, or in the shower. You cannot clean surfaces properly with items sitting on them. Wipe down the items themselves before putting them back.
Step 2: How to Clean the Exhaust Fan
Most people never clean the exhaust fan. It’s one of the most important components in bathroom hygiene because it removes moisture after showering. A clogged fan doesn’t work effectively, which means moisture stays in the bathroom longer, which means more mold.
Turn off the power at the circuit breaker or use caution when cleaning near the fan. Remove the cover, which typically clips or screws on. Wash the cover in warm soapy water and let dry completely.
For the fan interior: use a vacuum with a brush attachment to remove dust from the fan blades and housing. A cotton swab or toothbrush cleans the fan blades without reaching into the electrical components.
Replace the cover only when fully dry.
Step 3: How to Clean Shower Mold
Shower mold is one of the most common and most persistent bathroom problems. The key is understanding what you’re dealing with.
Surface mold on tile and grout: Apply hydrogen peroxide directly to the affected area and let it sit for 10 to 15 minutes. The dwell time is doing the work, not the scrubbing. After 15 minutes, scrub with a stiff brush and rinse. For heavier mold staining on grout, an oxygen bleach paste (OxiClean mixed with a small amount of water to paste consistency) applied and left for 20 minutes removes mold more effectively.
Mold on caulk: Surface mold on caulk can sometimes be cleaned with hydrogen peroxide. However, if mold has penetrated into the caulk itself, cleaning the surface doesn’t solve the problem. The caulk needs to be removed and replaced. Use a caulk removal tool or a utility knife to remove all old caulk, let the area dry for 24 to 48 hours, and apply new mold-resistant caulk.
Mold on shower curtain liner: Most plastic liners can be machine washed with a small amount of laundry detergent and a cup of white vinegar. If mold has penetrated throughout the liner, replacement is more practical than cleaning.
What to watch for: If mold keeps returning to the same spot in the shower despite regular cleaning, moisture is coming from behind the tile rather than just from normal shower use. This indicates a grout or caulk failure that allows water to penetrate. This is a contractor issue, not a cleaning issue.
Step 4: How to Clean Shower Tiles and Grout
Cleaning shower tiles and grout requires different techniques for each.
For tile surfaces: Most bathroom tile (ceramic, porcelain) is non-porous and cleans easily with an all-purpose cleaner or a diluted vinegar solution. Do not use acid-based cleaners (vinegar or citrus) on natural stone tile like marble, travertine, or limestone. These permanently etch stone surfaces.
For grout: Grout is porous and absorbs soap residue, body oils, and mold spores. Wiping tile does not clean grout. Cleaning grout requires a cleaning agent, dwell time, and a stiff brush.
The most effective approach for most bathroom grout:
- Apply baking soda paste to the grout lines
- Spray with white vinegar
- Let the fizzing reaction sit for 5 to 10 minutes
- Scrub with a grout brush working along the grout line (not across it)
- Rinse thoroughly
For heavily stained or moldy grout: oxygen bleach (OxiClean) mixed to a paste is more effective than the baking soda method. Apply, allow a 15 to 20 minute dwell time, scrub, and rinse.
For grout that won’t clean up even with these methods: grout may need to be recolored with a grout stain pen, or in extreme cases, raked out and re-grouted. This is more common in older bathrooms where the original grout color can no longer be restored.
Step 5: How to Clean Shower Glass
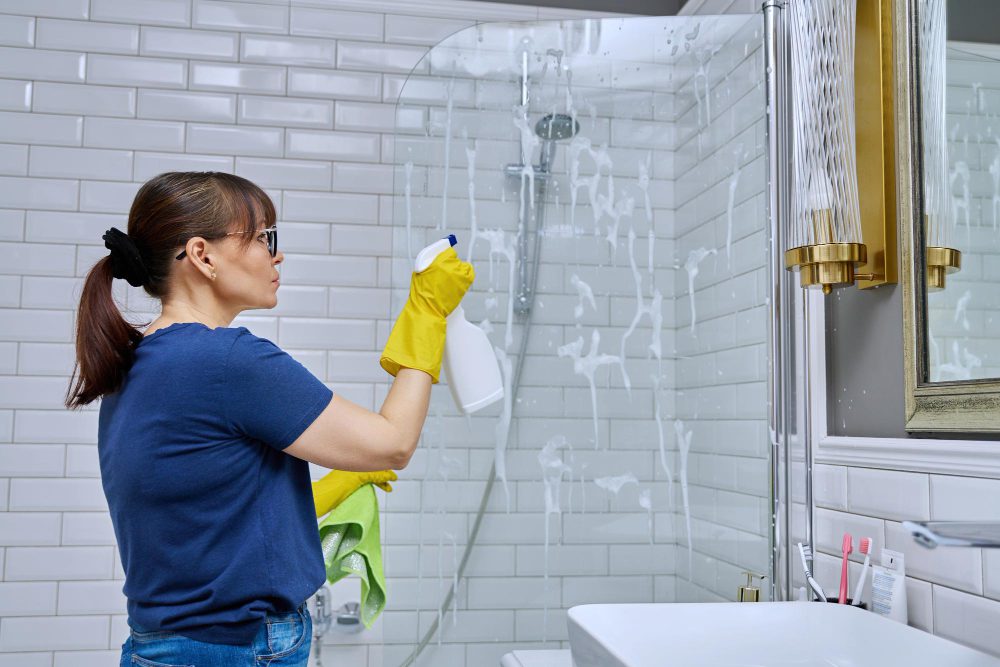
Soap scum on shower glass requires an acid-based cleaner and proper dwell time. This is where most people go wrong: they spray and immediately wipe, which doesn’t give the cleaner enough time to work.
Apply undiluted white vinegar to the glass surface and let it sit for at least 15 minutes. The acidity dissolves the calcium and soap residue. After 15 minutes, scrub with a non-scratch sponge and rinse.
For heavy soap scum buildup that doesn’t respond to vinegar: a commercial product like CLR (Calcium, Lime, and Rust) applied with a damp cloth and left for the time specified on the label handles significant buildup. Rinse completely after use.
For the door tracks and frames: use an old toothbrush and the same vinegar solution to scrub tracks. The toothbrush reaches into the corner where frames meet the tile, where residue concentrates.
Prevention: Squeegeeing the glass after every shower is the single most effective thing you can do to prevent soap scum accumulation. It takes twenty seconds and removes the water before it can deposit minerals and soap residue.
Step 6: How to Descale the Showerhead
A showerhead in a hard water area accumulates mineral deposits that reduce water pressure and can harbor bacteria in the clogged nozzles.
Fill a plastic bag with undiluted white vinegar. Place it over the showerhead and secure with a rubber band so the showerhead is fully submerged in the vinegar. Leave for at least two hours, or overnight for heavy mineral buildup.
Remove the bag and run hot water to flush the loosened deposits from the nozzles. Use a toothbrush to scrub the nozzle face, which dislodges any remaining deposits.
This should be done every one to three months in the Twin Cities metro given the hard water common in the area.
Step 7: How to Properly Clean the Toilet
Most people clean the visible parts of the toilet. The areas that get missed are the ones that matter most for hygiene.
Bowl: Apply toilet bowl cleaner inside the rim and let it sit while you clean the exterior. The cleaner needs dwell time. After cleaning the exterior, scrub the bowl including under the rim where bacteria concentrate most heavily.
Seat and hinges: Remove the toilet seat if possible (most toilet seats unhinge with a quarter turn) and clean the seat, lid, and the area beneath the hinges where residue and bacteria accumulate. This is almost never done during regular cleaning and makes a significant difference.
Exterior: Wipe the tank, the outside of the bowl, and the base where the toilet meets the floor. This area collects dust, hair, and moisture continuously.
Behind the toilet: Use a microfiber cloth or a long-handled duster to wipe the area directly behind the toilet, between the toilet and the wall. This is one of the most consistently missed spots in home cleaning and one of the first places an inspector or property manager will look.
The floor around the toilet base: Mop or wipe this area specifically, including under the edges where the base meets the floor.
Step 8: Cleaning the Sink and Faucet
Scrub the sink basin with a baking soda paste applied with a damp sponge. This removes staining and surface grime without scratching most sink materials.
For the faucet and handles: Wrap a cloth soaked in white vinegar around the faucet base and around any mineral-deposited fixtures. Let it sit for 30 to 60 minutes. The acid dissolves the calcium deposits. For chrome fixtures, dry and buff with a dry microfiber cloth after cleaning to restore shine.
Clean the drain and drain stopper: Hair and soap residue accumulate around and in the drain. Remove the stopper if possible and clean both the stopper and the drain opening. A bent wire hanger or a drain snake pulls accumulated hair from inside the drain.
Step 9: Mirrors, Vanity, and Cabinets
Mirrors: Apply streak-free glass cleaner and wipe with a dry microfiber cloth in an S-pattern from top to bottom. Circular wiping causes streaks.
Vanity countertop and cabinet exteriors: Wipe down with an all-purpose cleaner and dry.
Inside the medicine cabinet: Remove all items. Wipe down all shelves. Check expiration dates on medications and products and discard expired items. Return only what you need and use.
Under-sink cabinet: Remove everything and wipe the interior. Check for any moisture staining or evidence of a slow drip from the plumbing under the sink.
Step 10: Baseboards, Fixtures, and Floor
Wipe baseboards with a damp microfiber cloth. Bathroom baseboards accumulate moisture and soap residue and can develop mold at floor level if not cleaned regularly.
Wipe light fixtures with a dry cloth. Replace any burned-out bulbs.
Floor: Sweep or vacuum first to remove loose debris. Mop with an appropriate cleaner for your floor type. Pay attention to the area under the vanity and behind the toilet, both of which are frequently missed. For tile floors, the grout at floor level benefits from the same baking soda and vinegar treatment as the shower grout.
Monthly Bathroom Maintenance to Keep Up With
After a thorough deep clean, these monthly tasks prevent the buildup from returning to the point where a full deep clean is needed again.
- Scrub shower grout with a grout brush and bathroom cleaner
- Descale the showerhead if water pressure is noticeably reduced
- Wash the shower curtain liner
- Clean the exhaust fan cover
- Wipe the inside of the medicine cabinet
- Clean the under-sink area
- Check caulk condition around the tub and shower
When to Call a Professional Bathroom Cleaning Service
Professional bathroom cleaning makes sense in a few specific situations.
First-time deep clean: If your bathroom has accumulated significant buildup, a professional deep clean as a starting point is more efficient than attempting to address years of grout staining and mineral buildup on your own.
Multiple bathrooms: Cleaning three or four bathrooms to a deep-clean standard in a single session is a full-day project. A professional team completes all of them in a fraction of the time.
Move-in or move-out: The standard required for a rental property inspection is higher than regular maintenance. Our move-in/move-out cleaning covers every item that property managers inspect.
Recurring maintenance: Our recurring cleaning service includes bathroom cleaning as part of the full scope, so bathrooms stay at a consistently high standard between deep cleans.
Our deep cleaning service covers every item in this guide, in every bathroom in the home, in a single professional visit. We serve Minneapolis, Eden Prairie, Edina, Minnetonka, Plymouth, Maple Grove, Wayzata, and Excelsior.
Frequently Asked Questions
How do you deep clean a bathroom shower?
Start with the showerhead (vinegar soak for mineral deposits), then clean grout lines with baking soda paste and a grout brush, remove soap scum from glass with vinegar and dwell time, and clean the drain. Apply cleaner to the shower walls and let it sit before scrubbing rather than spraying and immediately wiping.
How do you remove mold from a shower?
Apply hydrogen peroxide or an oxygen bleach paste to the moldy area and let it sit for 10 to 20 minutes before scrubbing. For mold in caulk, the caulk typically needs to be replaced rather than cleaned. Surface mold on tile and grout responds well to hydrogen peroxide with proper dwell time.
How do you remove soap scum from shower glass?
Apply undiluted white vinegar to the glass, let it sit for 15 minutes, then scrub with a non-scratch sponge and rinse. For heavy buildup, CLR (Calcium, Lime, and Rust) with appropriate dwell time handles what vinegar cannot. Always rinse completely after using CLR.
How often should you deep clean a bathroom?
Monthly for the grout, showerhead, and exhaust fan. A full deep clean covering every surface seasonally. More frequent deep cleaning is appropriate for bathrooms with heavy use, multiple occupants, or hard water mineral buildup.
How do you clean bathroom grout?
Apply a baking soda paste to grout lines, spray with white vinegar, let fizz for 5 to 10 minutes, and scrub with a stiff grout brush along the grout line direction. For stubborn staining, an oxygen bleach paste with a longer dwell time is more effective.
What’s the best way to prevent mold in the shower?
Run the exhaust fan during and for 20 minutes after every shower. Squeegee the glass and walls after each use. Keep the shower curtain fully open between uses to allow airflow. Address any caulk or grout failures promptly, as they allow water to penetrate behind surfaces.
How do you clean a bathroom with hard water?
Focus on acid-based cleaning for mineral deposits: vinegar for light buildup, CLR for heavy buildup. Soak faucets with vinegar-soaked cloth for 30 to 60 minutes. Soak the showerhead in vinegar overnight. Prevention includes squeegeeing surfaces after each shower and applying a water-repellent coating to glass.
Get Your Bathroom to a Professional Standard
Deep cleaning a bathroom thoroughly takes time and the right technique. SHINENOS’s professional team covers every item in this guide, in every bathroom in your home, with the products and methods professionals use rather than the generic approaches that leave grout, mineral deposits, and difficult areas untouched.
Book your bathroom deep cleaning with SHINENOS and see what a bathroom cleaned to a professional standard actually looks like.